

Cropping a photo in Silhouette Studio is super easy.
First, open your picture in Silhouette Studio using the File, Open command. It may come in very large. My photos are huge because I use the max resolution settings on my cameras. Just select the image and adjust the size by dragging the handles to make it smaller.

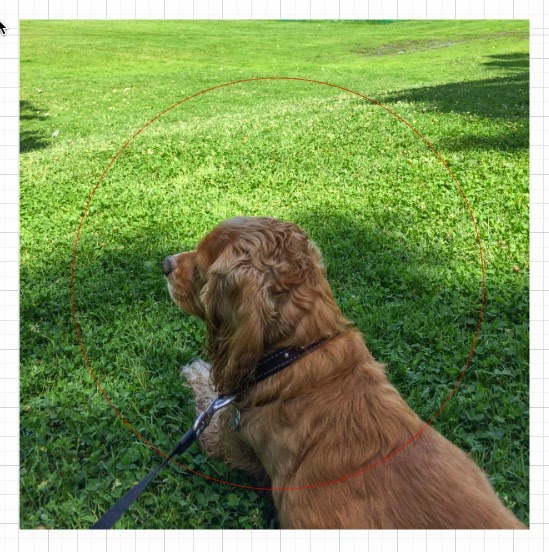
Select the shape you want and place it over the picture in the area you want. Here, I used an ellipse and drew a circle over the area I want to keep.
Next, select everything (your picture and the cut line), then click the Modify icon at the top of the screen.
Now click the Crop icon.

Your photo will be cropped to the shape.

You do exactly the same thing to crop using a cutting file.
Below I chose a heart from my library.

After cropping, my photo of Percy is cropped to the heart shape.

Be sure to follow my blog for many more tips and tricks.


0 comments:
Post a Comment